
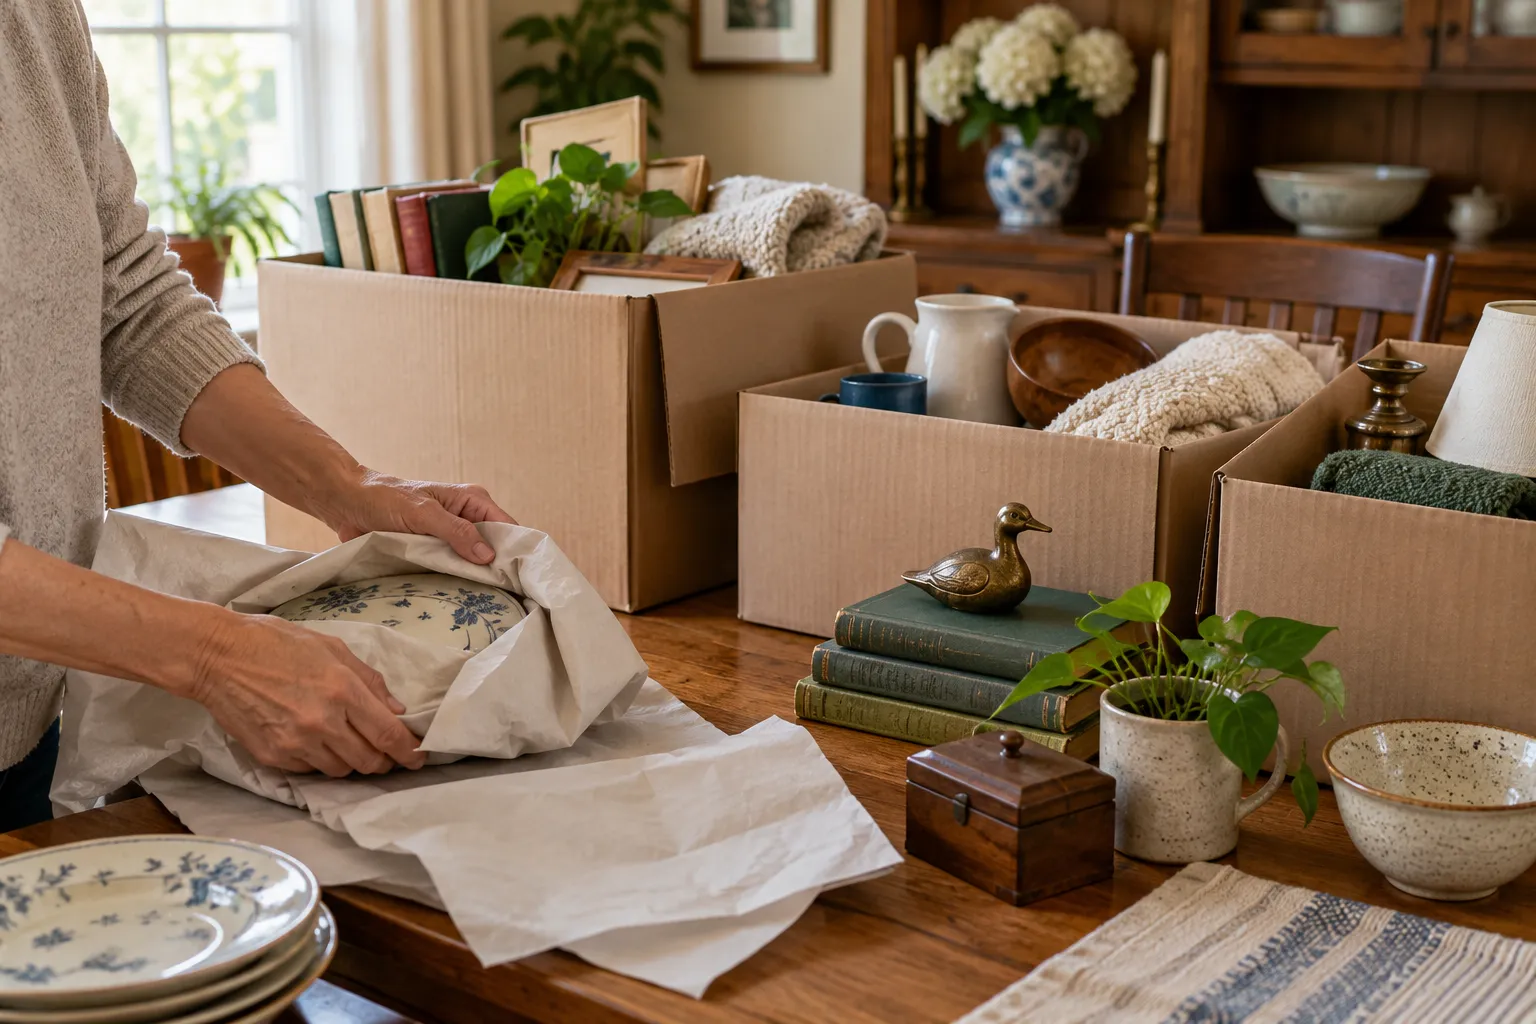
Do not begin an estate cleanout by ordering a truck. Begin by securing the property, finding the documents that control the process, and creating a protected area for records, valuables, photographs, medication, keys, and anything a family member has specifically requested.
Day 1: secure and document
Confirm who has authority to enter, direct work, and distribute property. Change access codes or collect spare keys when the responsible person decides that is appropriate. Photograph each room before items move. Record vehicles, major appliances, tools, collections, and sealed containers without making a value judgment on the spot.
Do not throw away papers during the first pass. Bank and tax records, deeds, titles, insurance papers, military records, warranties, passwords, safe-deposit information, and contact lists can appear in desk drawers, bags, books, and kitchen cabinets.
Day 2: create a protected zone
Choose one room or locked area that the removal crew will not enter. Use it for documents, jewelry, cash, photographs, small collectibles, medications awaiting proper disposal, keys, firearms awaiting lawful handling, and anything disputed or undecided. Mark the door and tell every helper what the boundary means.
Days 3 and 4: sort by decision, not room
Use five clear destinations:
- Keep or distribute: items assigned by the authorized person.
- Review: anything with uncertain ownership, value, or sentiment.
- Donate: usable items after a recipient confirms acceptance.
- Sell or appraise: items that may justify professional review.
- Remove: broken, unwanted, or non-hazardous material approved to leave.
Do not label an item “donation” until the recipient accepts its category and condition. Donation rules change with storage space and demand.
Day 5: record donation and sale decisions
If the estate may claim a charitable deduction, keep the recipient’s receipt and item records. IRS Publication 526 explains substantiation rules and notes that household goods generally must be in good used condition or better for a deduction, with special rules for higher-value items and appraisals. Tax treatment depends on the facts, so use the current IRS instructions or a qualified tax professional rather than assigning a value from a generic online list. IRS Publication 526 (2025 edition; United States; retrieved October 8, 2026).
Day 6: identify special routes
Separate medication, chemicals, fuel, automotive fluids, pressurized cylinders, paint, batteries, electronics, firearms, ammunition, medical waste, and personal records. These items do not belong in an ordinary mixed load. Ask the responsible local program how each category should be handled.
Day 7: scope the cleanout
Walk the property with the removal list. Note stairs, narrow halls, detached buildings, gates, soft ground, elevator reservations, loading rules, and anything too heavy or unstable to move as presented. Photograph each removal zone and estimate volume by room or pile. A provider can give a better assessment when the keep zone and special routes are already clear.
First-week checklist
- Confirm who can authorize work and distribution.
- Photograph rooms before moving contents.
- Protect records, valuables, keys, photos, medication, and undecided property.
- Keep disputed items out of sale, donation, and removal zones.
- Confirm donation acceptance before loading a donation vehicle.
- Keep receipts and item records when tax documentation may matter.
- Separate hazardous, regulated, and data-bearing items.
- Get the removal quote only after the removal zone is defined.
The related estate cleanout service page explains what to share before an on-site assessment. The furniture pickup checklist helps when large pieces are ready to leave.